Decoupage easter eggs with coloured napkins
 3 servings
1 hour
Chicken eggs - 3 pcs., Water - 1 l, Salt - 2 tbsp., Wheat flour - 1 tbsp., Water - 0.5 pack.
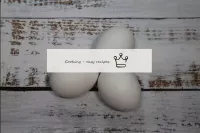 Before decorating the eggs, boil them correctly first. To do this, you need to follow some rule. So, let's start. Remove the eggs from the fridge and warm them to room temperature, leaving them lying at room temperature for 1 hour. So that during cooking the eggs do not roll much and knock on each other, take a small bucket in which the eggs will be boiled.
 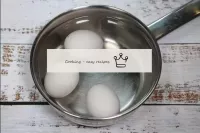 Next, put the eggs in a bucket of cold water. Add salt to the water at a rate of 2 tablespoons per 1 liter. This is done so that the eggs do not crack and even if this happens, the protein will not leak. 1 minute after the water boils, reduce the heat, cook for 10-12 minutes, no more. It is very important not to digest the eggs, since the protein will taste rubber, and the yolk will be covered with an unpleasant grayish coating. Cool the hot eggs.
 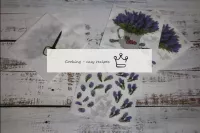 Prepare the wipes. Break the wipes into layers, leaving only the top layer, which is patterned. It is best to choose napkins with a pattern where small elements are used, because they are easier to cut and can be more beautifully arranged. But you can also work with large drawings. Cut out the patterned pieces.
  Español
 Français
 Português
 Русский
 简体中文
简体中文 繁體中文
繁體中文 日本語
日本語 한국어
한국어 العربية
 Türkçe
 Қазақ
Қазақ Deutsch
 Italiano
 Українська
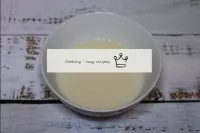 Now make a clayster. To do this, cook the flour in boiling water (0. 5 tbsp), mix well and cool at room temperature.
 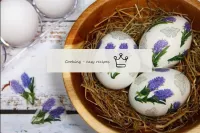 Arrange these pieces alternately on the eggs and stick using a previously prepared clayster and the most ordinary brush. Let them dry on the egg stand (I used plastic, which usually sits in the fridge) for 2-3 hours. Then you can transfer the eggs to where they will be stored until Easter.
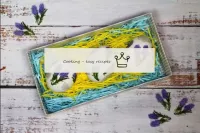
 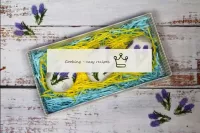 You can pack such eggs in a gift box, decorate it with tinsel, for example, and congratulate your relatives and friends on the holiday.